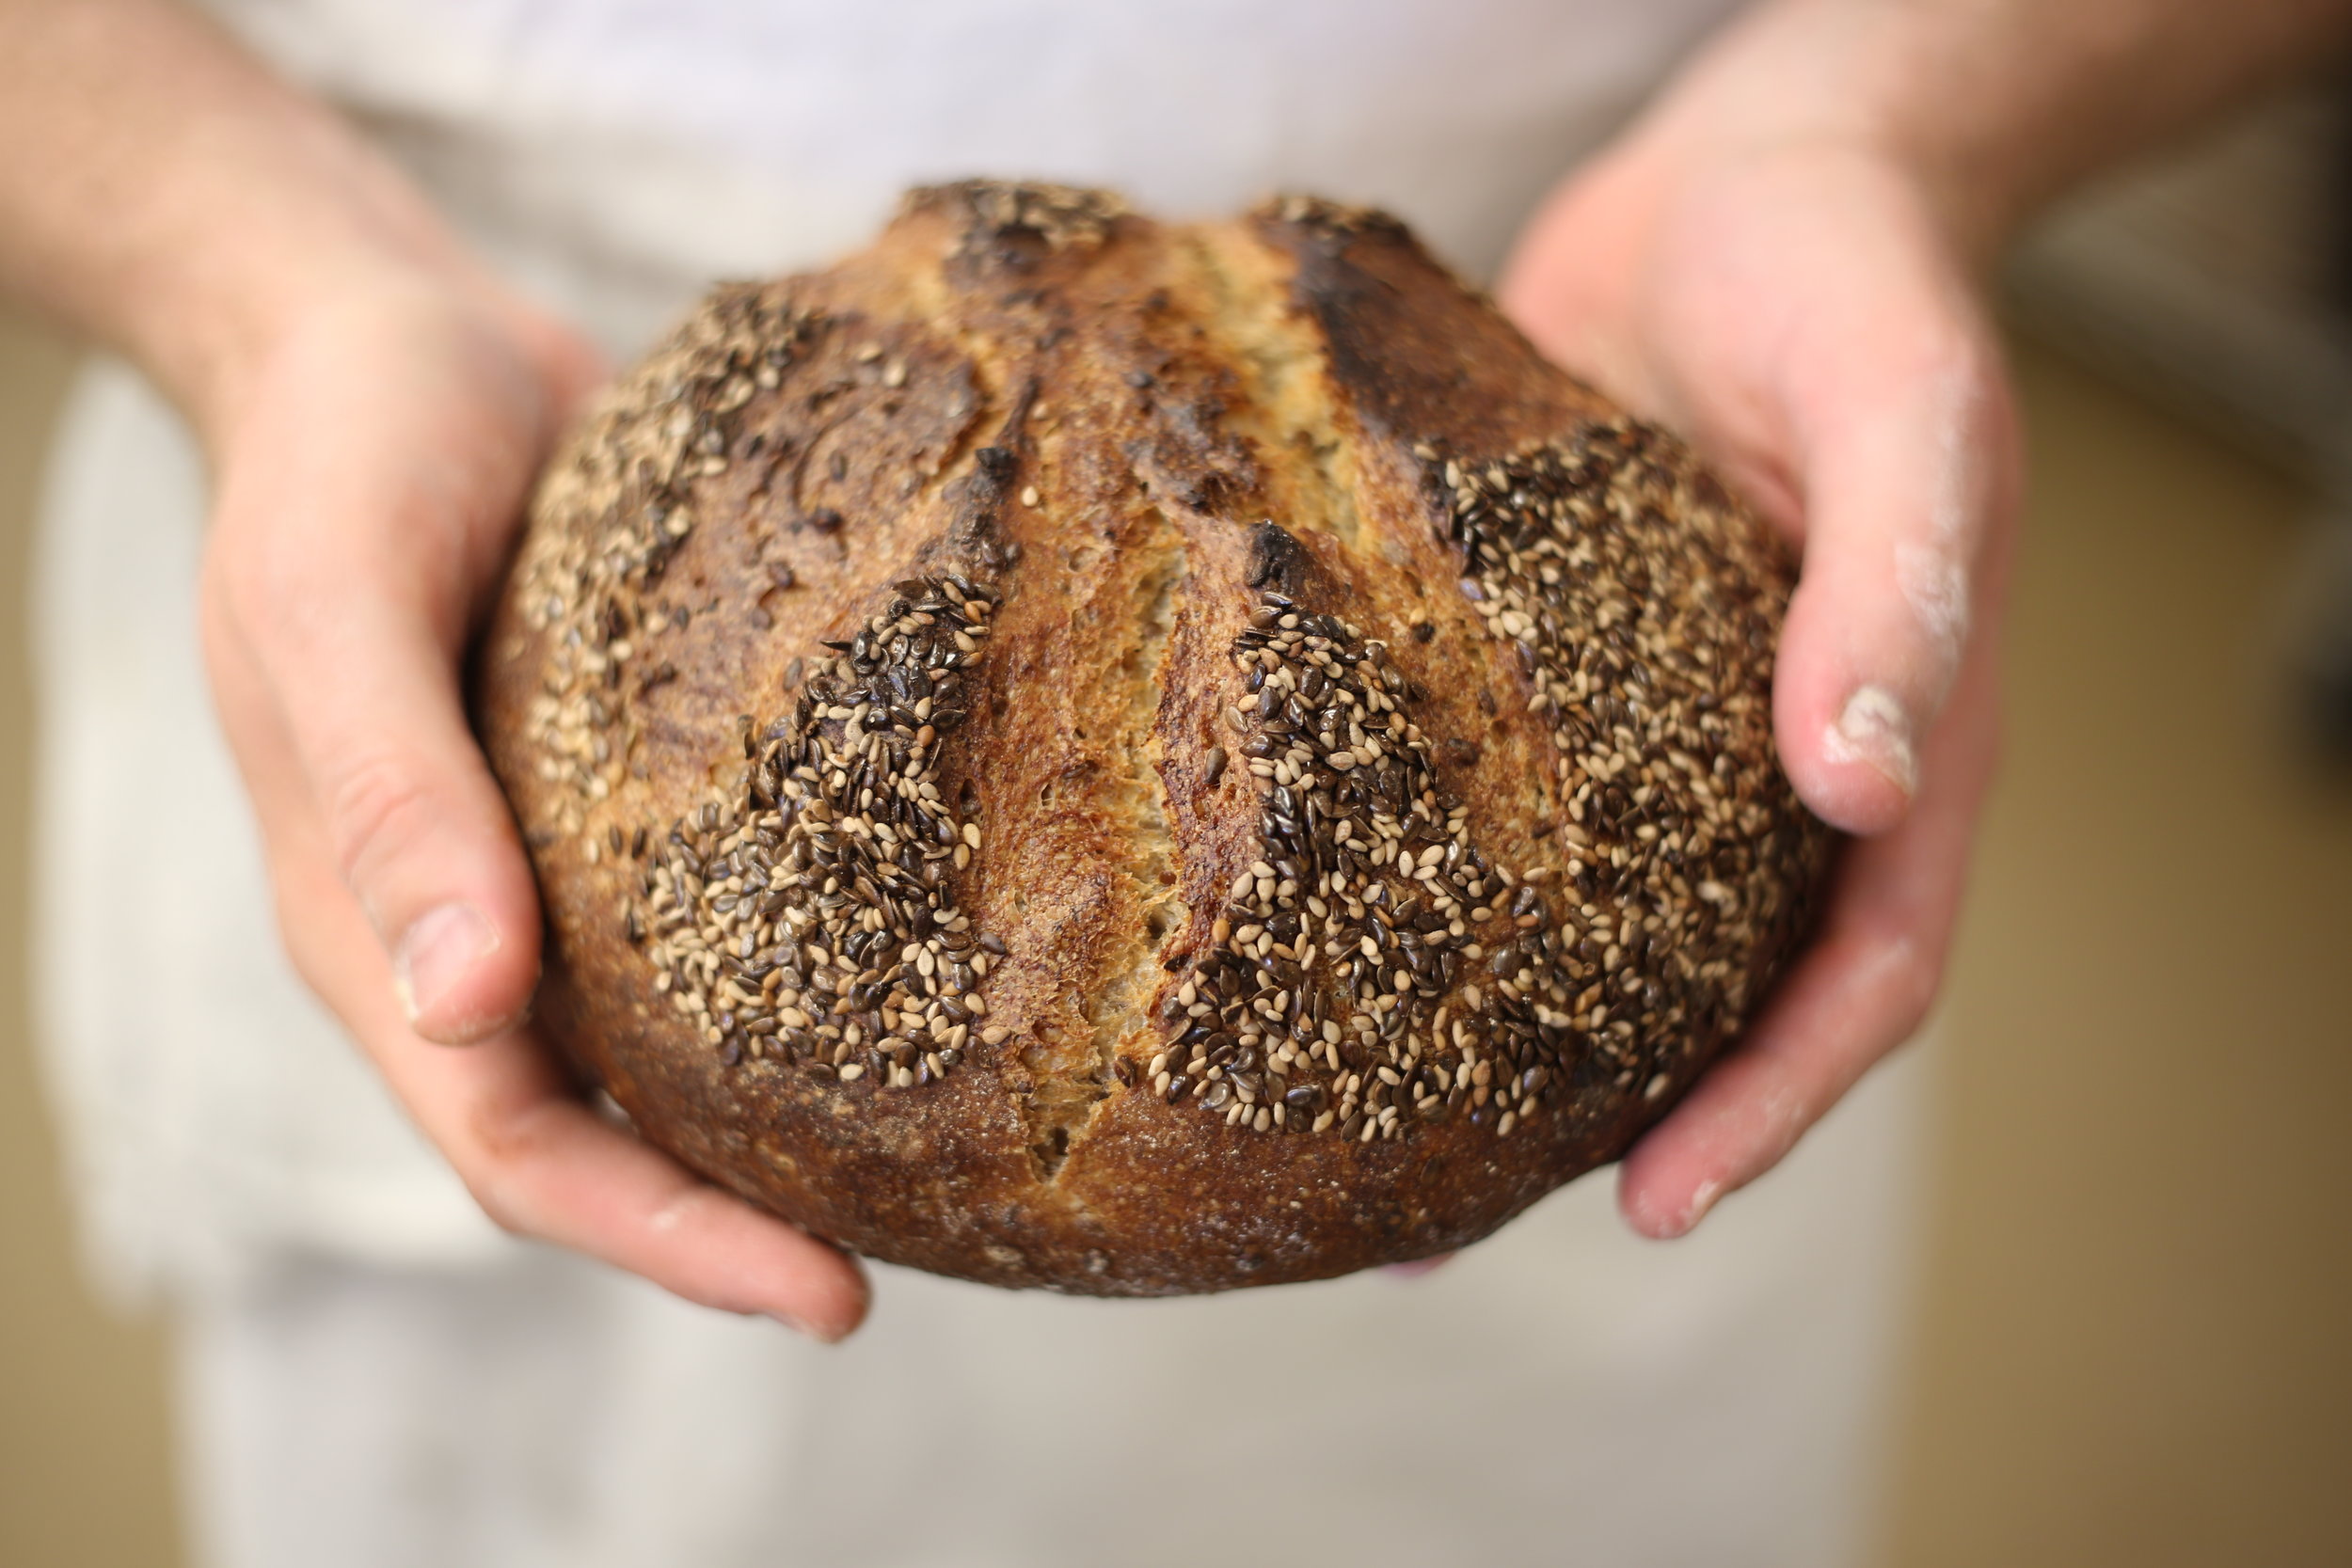
“Dough is ready!” my mother would call to us. My sisters and I would drop whatever we were doing and rush into the kitchen—elbows out, prepared to claim our spot. The kitchen in our old yellow farmhouse was small but cozy: graying white tile, a white formica kitchen table, and a white refrigerator humming in the corner papered in school notices and birthday invitations and our art. We’d crowd in, kneeling on the mismatched chairs around the table. The focus of all this chaos: an oversized beige ceramic mixing bowl with a navy stripe around the top, filled with bread dough.
The dough—my mom’s classic white sandwich bread—has been rising for almost two hours and smells slightly yeasty. The surface is puffed and pillowy-looking, practically begging for a ferocious punch from one of us. “Okay,” she nods, giving us the go-ahead. We lean in over the bowl, giving the dough highly overenthusiastic punches with our little fists, laughing at the sticky feeling on our skin and the thwap, thwap sound as it deflates.
[Editor’s note to bakers everywhere: It is NOT RECOMMENDED or necessary to punch your dough down so aggressively. In fact, you really should just gently deflate it with your hands, but frankly—how much fun is that? If you have little ones, let them get their emotions out on the dough, as my mom would say!"]
This is, of course, one of the most fun parts of having a mother who regularly bakes bread. The other parts are as follows, in order of importance to anyone under the age of 10 (oh wait, actually, I still feel this way):
Watching her pinch off balls of dough from the bowl, handing one each to the four of us. We were then allowed to fill it as we liked from the wild bounty of the freezer—which, in our household, meant raisins or chopped pecans or semisweet chocolate chips. I probably would have fainted from sheer excitement if someone had offered me something as edgy as milk chocolate or, say, an actual piece of candy. Under the patient instruction of my mother, we’d each pinch our tiny piece of dough closed around its treasure, sealing the seam into a little loaf. Each loaf went onto a baking sheet and into the oven. Then came the waiting: Will the seam hold? Will the chocolate chips spill out in a molten river? This was all high drama for us.
The first bite of a slice of sandwich bread, warm from the oven. She’d cut off the end piece as soon as she flipped the loaves onto a cooling rack. We’d grab at it gingerly, practically burning our fingers, and spread our piece with bright yellow butter. Our butter was homemade from the cream from our Jersey cows—after churning it, my mom would pack it into these little brown ceramic bowls and store it in the fridge.
Being lucky enough to get to stir the cinnamon and raisins into a batch of raisin bread dough. This takes quite a bit of muscle for a little kid, and is a lot more thrilling than it sounds.
At the time, I didn’t appreciate the privilege of having homemade bread all the time. In fact, I treated it rather casually, not paying much attention to how my mom mixed the dough, following instinct and feel to know if she’d added enough flour. I didn’t watch closely at how she kneaded the soft, elastic mass or the particularly hypnotic wave-like motion of push pull push as the heel of her hands worked the dough. Now I realize how lucky it was to learn by osmosis, and to be nourished and fed on such good, homemade food.
Sandwich bread was a weekly occurrence, but there was all kinds of bread regularly. Anadama bread with its slightly sweet molasses flavor and firm, moist crumb. Soft, squishy potato bread. Crusty ciabatta bread, airy and chewy on the inside. Gooey cheese rolls with swirls of sharp cheddar melted inside tender bread dough.
It’s not surprising that I love baking yeast bread after growing up with all of that. I like the basics: simple white loaves, rustic no-knead boules, and so on. But I also love spending a day experimenting with something new: watching the dough rise and seeing how a complicated braided or filled bread will turn out.
Today’s recipe is a perfect example of how thrilling bread baking can be. This leopard bread looks wild and complicated, but is really just a matter of making one dough and splitting it in thirds and adding cocoa powder and espresso powder to two-thirds of it.
To make the dotted design, you roll the dough into balls, then into long skinny logs. You wrap the logs around each other, so each log has a dark chocolate espresso interior, then a chocolate layer, then a white layer. You stack the logs in a loaf pan and bake.
There’s a good video tutorial of it here, if you like.
The technique is so fun that I’ve been dreaming up other flavor combinations that would yield both a nice-tasting and cool-looking loaf: turmeric and beet, saffron and purple potato, matcha and black sesame, and so on.
Give it a try—if nothing else, it’ll be an interesting way to spend an afternoon getting your hands floury and making something real and tangible. There’s nothing quite like that!
Leopard Bread
Adapted from Tastemade
For the starter
2 tablespoons plus 2 teaspoons bread flour
1/4 cup whole milk
1/4 cup water
For the dough
2 1/2 cups bread flour
1/4 cup sugar
2 1/4 teaspoons (1 envelope) instant or active dry yeast
3/4 teaspoon salt
1 egg
1/2 cup whole milk, warmed slightly
4 tablespoons unsalted butter, at room temperature
1/3 cup cocoa powder
1 tablespoon milk plus 1 teaspoon milk, divided
1/3 cup black cocoa powder (I get mine here)
1 1/2 teaspoons espresso powder (I get mine here)
First, make the starter by whisking together the starter ingredients in a small saucepan over medium heat. Bring the mixture to a simmer, whisking constantly, and cook until it thickens slightly (about 7 minutes). Pour into a heatproof bowl and set aside to let it cool slightly.
Next, make the dough. Whisk together the flour, sugar, yeast, and salt in the bowl of a stand mixer (you can do this all by hand but the mixer is useful).
Add the egg, milk, and cooled starter mixture. Using the dough hook attachment, knead the mixture until it comes together and keep kneading for about 5 minutes. Add the butter and continue to knead for 10 more minutes until the dough is very smooth and soft.
Divide the dough in half. Set one half aside in a large bowl covered with plastic wrap while you prep the rest.
Take the other half of the dough and divide this in half. Take one half and knead in the cocoa powder and 1 tablespoon of milk, kneading until the color is even. Set aside in a medium bowl covered with plastic wrap.
With the remaining half, knead in the black cocoa and espresso powder with the remaining teaspoon of milk, kneading until the color is even. Set aside in a medium bowl covered with plastic wrap.
Let all three doughs rise until puffy, about 1 hour.
After the first rise, divide each bowl of dough into 7 balls (so you have 21 dough balls—7 of each color).
Start with the darkest color ball and roll it into a long log. Take a lighter brown ball and press/roll it out into a rectangle. Place the dark brown dough log in the center of the rectangle and wrap the rectangle around the dark brown dough log, so you fully encase the dark brown dough. Repeat the process with one of the plain dough balls—so you should have a long log of plain dough with both colors of chocolate dough inside.
Repeat with the remaining dough balls, so you end up with 7 logs of dough.
Grease a 9” x 5” loaf pan and stack all 7 logs of dough inside.
Cover lightly with plastic wrap and allow to rise for about 30 minutes until puffy. Towards the end of the rising time, preheat the oven to 350 degrees F.
Just before baking, brush the top of the dough with milk and bake for about 35 to 40 minutes. Remove from the oven and let cool in the pan for about 10 minutes before flipping out onto a wire rack to finish cooling fully before slicing.


